
Neonode® Touch Sensor Module User's Guide : Get Started with Neonode Prototyping Board
Setup Summary
- Board: Neonode Prototyping Board
Include URL in Board Manager: https://raw.githubusercontent.com/neonode-inc/zforce-arduino-board-devenv/master/package_neonode_index.json - Programmer: AVRISP mrkII (or USBtinyISP)
- Arduino Library: zForce Arduino Library
Setup Guide for Arduino IDE
Install and Select Neonode Prototyping Board
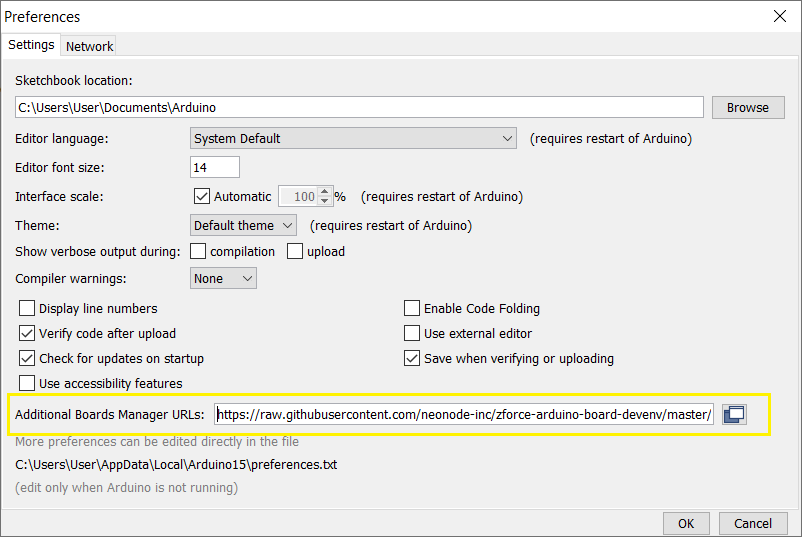
Go to File >> Preferences.
in Preferences, navigate to Additional Boards Manager URLs and include the following URL: https://raw.githubusercontent.com/neonode-inc/zforce-arduino-board-devenv/master/package_neonode_index.json
If you have multiple URLs in your Board Manager, you can separate each link with a comma (,) or press the pop-up icon and paste the URL on a new row.

Press OK.
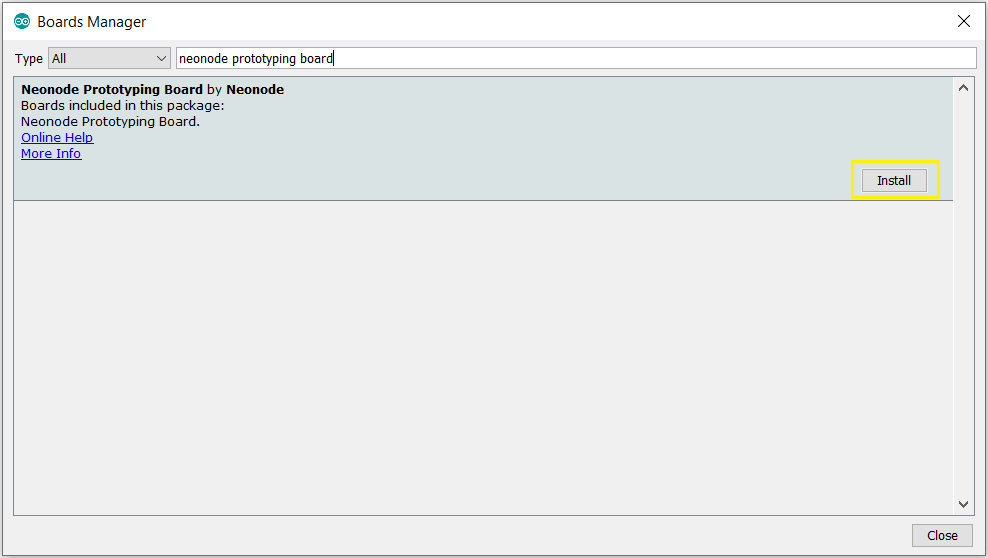
- Now, go to Tools >> Boards >> Boards Manager, and type "Neonode Prototyping Board" in the search field.

- Press Install to install the board preset.
- When the installation is complete, Select the new board by going to Tools >> Board >> Neonode Prototyping Board.
Select AVRISP mrkII as Programmer
Go to Tools >> Programmer >> AVRISP mrkII.
Alternatively, you can set USBtinyISP as your programmer.
Include zForce Arduino Library
Please refer to our zForce Arduino Library for easier implementation and communication with the sensor module.